
The art of photographing magic - Tips from a passionate photographer

12 tips for photographing illuminations like a pro


Tips for successful illuminations photography ✨📸
Take photos during the blue hour: about 15 to 30 minutes after sunset, or just before sunrise.
Use a tripod: essential for preventing camera shake. With a slow shutter speed, long exposures allow you to capture more light.
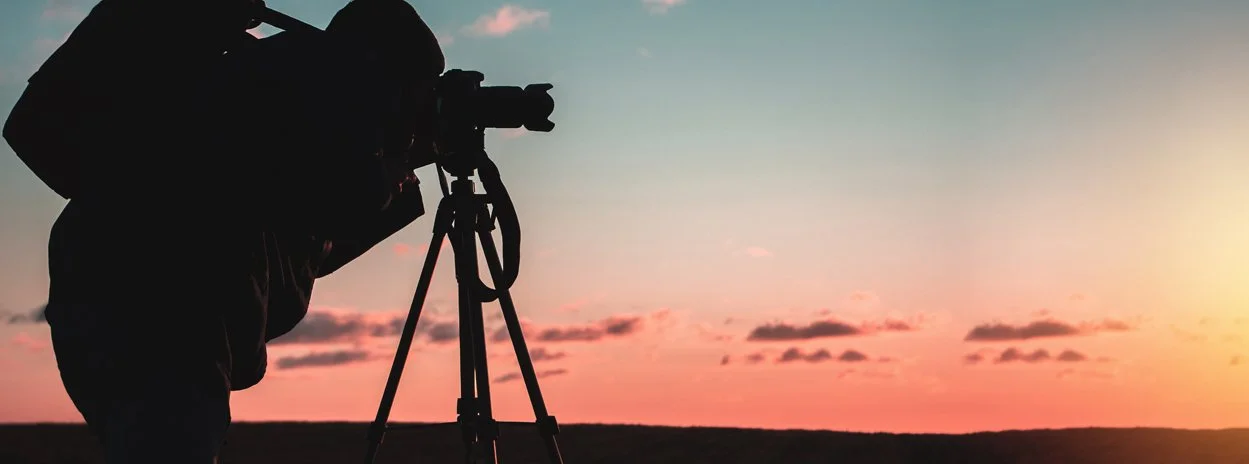
Tripod: stability, precision and great grips guaranteed!
Keep the ISO low: this reduces digital noise and ensures better image quality.
Pay attention to the aspect ratio: horizontal for Facebook or videos, vertical for Instagram and Reels.
Practice focusing in low light: if autofocus is having trouble, switch to manual mode or set the focus to infinity, especially when shooting from a distance.
Avoid using a flash: the lighting in these settings is too dim to be captured properly with a flash.

Above: Kirkland Town Hall bathed in the light of the Blue Hour.
For social media: use a resolution of 1920 x 1280 pixels at 72 dpi.
For printing: use a resolution of 300 dpi. The higher the resolution, the larger the print size you can produce without losing quality.
If you have a recent iPhone: turn on “Night Mode.” The camera will take a few seconds to capture the image—make sure to stay still.
Consider using HDR mode: it typically combines three photos taken at different exposures to capture the best parts of each. Many phones offer this feature automatically.
Be careful with digital zoom: it reduces image quality. It’s better to move closer to your subject or crop the photo after taking it.
Hire a professional: an experienced photographer is skilled in these techniques, has high-performance equipment for low-light conditions, and uses software like Lightroom or Photoshop to turn a snapshot into a true commercial-quality photo.
Hopefully these tips will help you better capture the magic of the illuminations... and shine in photos ✨